UPDATE: A limited supply of the original best-selling Lextreme 1UZFE EGR Delete Kit remains. If you own a 1UZ from 1990-1997, you really need to get this kit! Email me at [email protected] for help with ordering or questions. This will probably be the last kits I have made.
All other parts are SOLD OUT and won't return, including the LS400 and SC400 turbo kit, rebuild kits, supercharger and performace torque converter. We're not an auto parts supplier and I can't respond to inquries for random Lexus and Toyota auto parts.
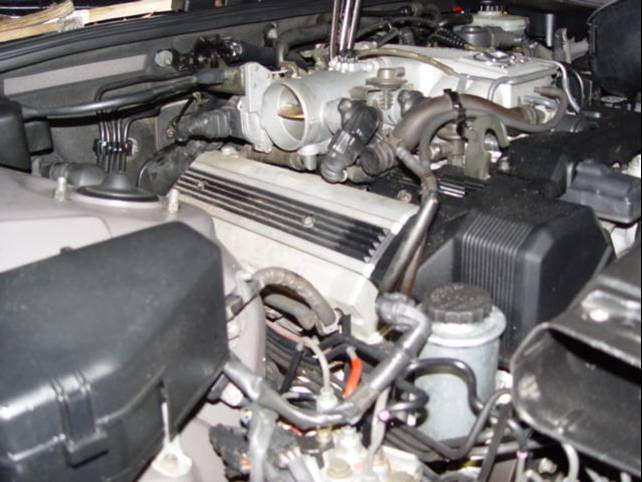
I took out my throttle body earlier today and bypassed the coolant line.
Why? the next time I take out the throttle body, I don’t have to mess with the two coolant hoses that attached to the throttle body.
No big deal. Just use about 12″ 1/4″ hose and connect the incoming coolant to the exist line. The cost is less than $1.00. The claps are re-used. Just get one foot 1/4″ hose. No noticed power gain or lost. This is not a good mod for power gain. Possible less than 1 hp gain if any.
However, some said it might give as much as 10 hp especially in forced induction application. Ok here is how its done.
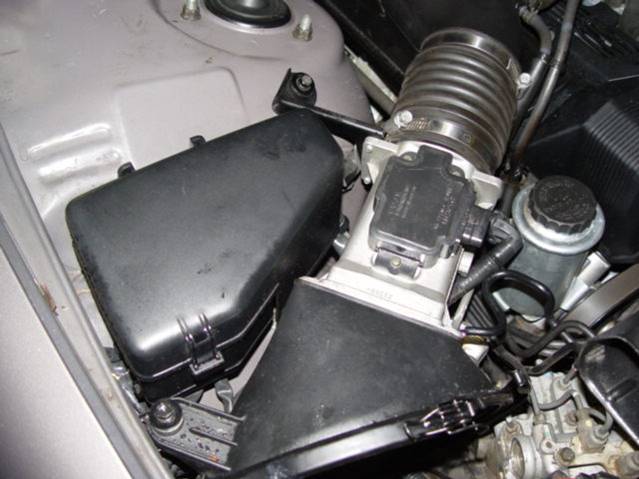
After disconnecting the battery negative cable and waiting 90 seconds before starting work, remove bolt securing air intake filter housing with a 10MM socket. A ¼ inch drive socket, an extension and a 10MM socket are the only tools required to accomplish the throttle body cleaning.
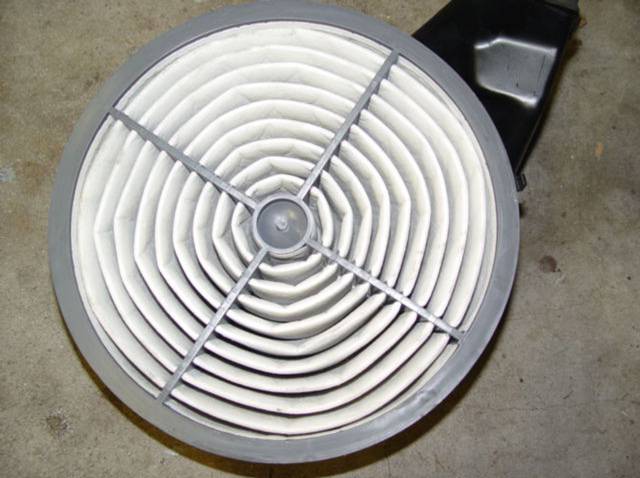
Air filter removed. This is a good time to inspect the air filter and replace if it is in bad shape. If the filter is not too dirty, you might be able to help it some by using an air hose connected to a shop air compressor to blow through the air filter in the reverse direction of normal air flow . If you can’t clean the filter, replace it. It makes no sense to go through a throttle body cleaning and then reinstall a clogged air filter.
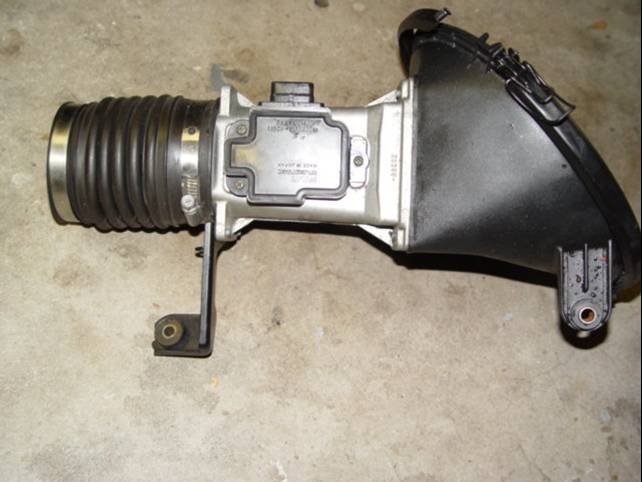
Loosen the hose clamp connecting the flexible rubber section of the mass airflow sensor assembly to the plastic air intake body. My hose clamp had a painted scribe mark on the clamp marking the position of the loose end of the clamp. If your clamp is not similarly marked, use a Sharpie and mark the clamp as shown. You will use this mark when reinstalling the mass airflow sensor assembly to prevent over tightening of the hose clamp.
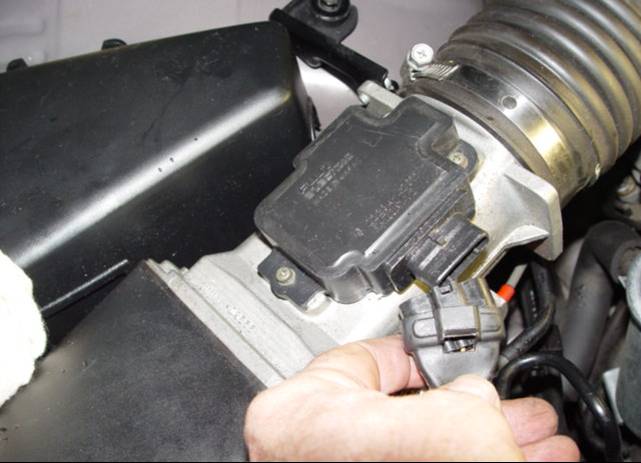
Remove the electrical connector to the mass airflow sensor . Depress the release tab while tugging on the connector itself. Do not pull on the wiring of the connector to prevent wire breakage.
Remove the two indicated 10MM bolts that secure the mass airflow sensor assembly to the fender apron. Threat the mass airflow sensor assembly with the care that you would give a precision optical instrument, which it is . The mass airflow sensor assembly is very expensive to replace and is a critical component of the air induction system.
Remove the mass airflow sensor assembly and set aside. Protect from damage while removed from the car.
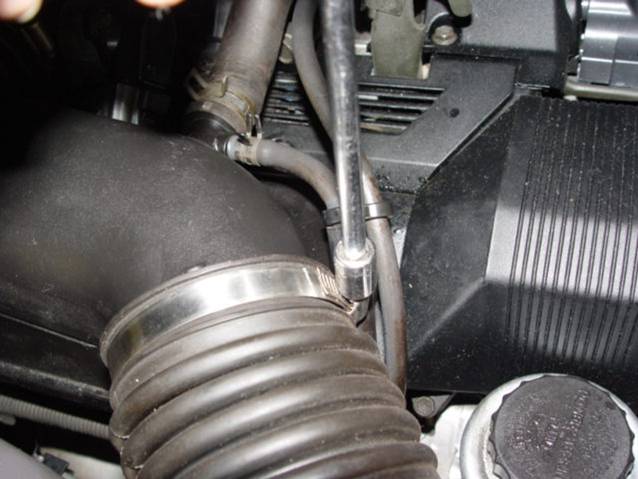
Remove the two hoses from the air intake body. Slide the hose clamps back from the hose nipples and then work the hoses off. I was able to slide the clamps using finger pressure on the clamp tabs.
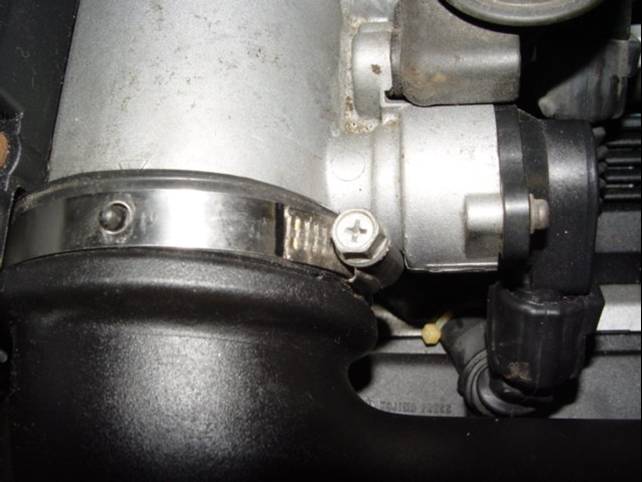
Loosen the hose clamp securing the plastic air intake rubber gasket to the throttle body. Just loosen, it is not necessary to remove the clamp. Once again, if the hose clamp does not have a scribe mark at the loose end of the clamp, use a Sharpie to mark the clamp for proper tightening on reassembly after cleaning.
Remove 10MM bolt from the upper, left corner of the plastic air intake. There is only one bolt securing the air intake to the engine.
Plastic air intake loosened and ready for removal. The rubber gasket between the air intake and the throttle body has a rather tight grip on the throttle body. It will come loose by pulling firmly on the air intake while working the air intake back and forth on the ends.
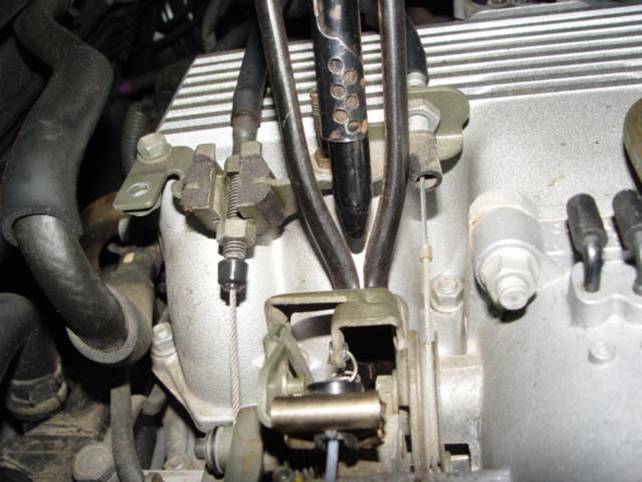
Loosen the two 10MM bolts securing the cover of the throttle body linkage. These bolts are captive to the cover, loosen sufficiently to remove the plastic cover.
Everything removed and ready to start the cleaning job. WARNING!!!!!!! DO NOT FORGET TO REMOVE WHATEVER YOU USE TO HOLD THE THROTTLE OPEN AFTER CLEANING TO PREVENT A WIDE OPEN THROTTLE START. USE SOME COMMON SENSE HERE
There are two throttle plates in the throttle body. The near plate is spring loaded open while the aft throttle plate is spring loaded closed. Here I have manually opened the aft throttle plate and put a pliers behind the linkage to jam the throttle plate open to facilitate cleaning.
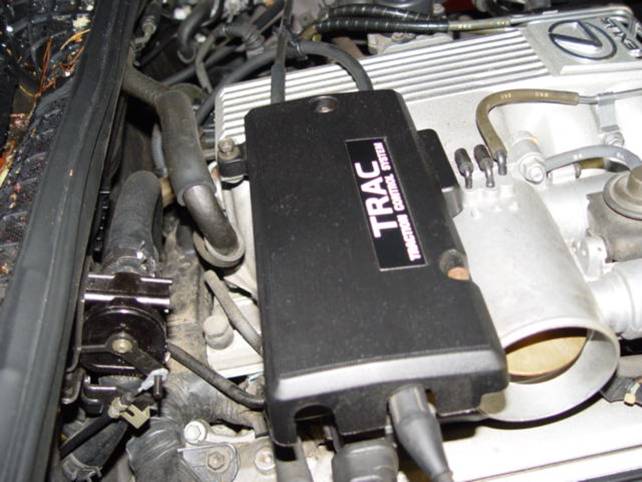
Throttle Body: I have taken out my TB about four times now and I think I know how to do it right. Please follow the following steps.
1. Disconnect all the Intake accessories
2. Disconnect the throttle body cables.
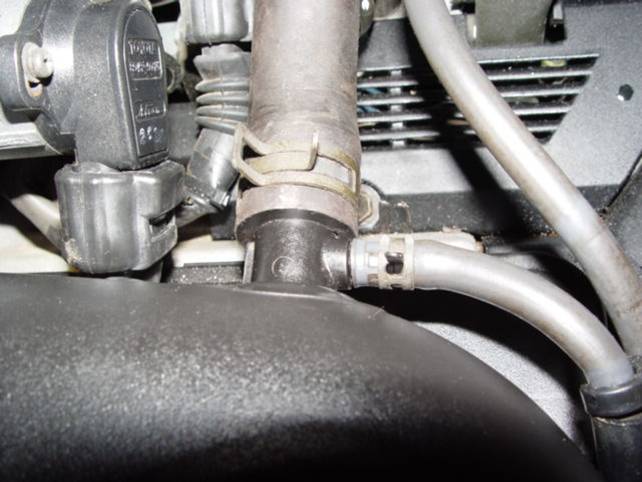
3. Disconnect the radiator hose that goes to the TB (around 3/8″)
4. Loosen the top two screws (12 mm) and loose the bottom two screws. You will need a socket extension on the bottom screws. BE CAREFUL DO NOT DROP THE BOTTOM SCREWS. IF YOU DROP IT, THEN YOU ARE REALLY SCREWED.
5. Reinstall the TB after you have done the above steps. Remember, DO NOT DROP THE BOTTOMS SCREWS and reverse the above directions.
When you loosen the four 12mm screws (two top and two bottom) the TB is still connected to 3 hoses. One 1/2″ short hose connect to the crank pressure and two are the radiator coolants. One enter and the other exit. Use a long nose plier and disconnect 1/4″ coolant hoses. Remove all the short hoses associated with the coolant. Use a 12″ long hose and connect the two hard pipes together. The 1/4″ hose can be purchased in Kragen for about $1.00. Reuse the stock clamps and reinstall the TB. This process should not take more than 30 minutes.
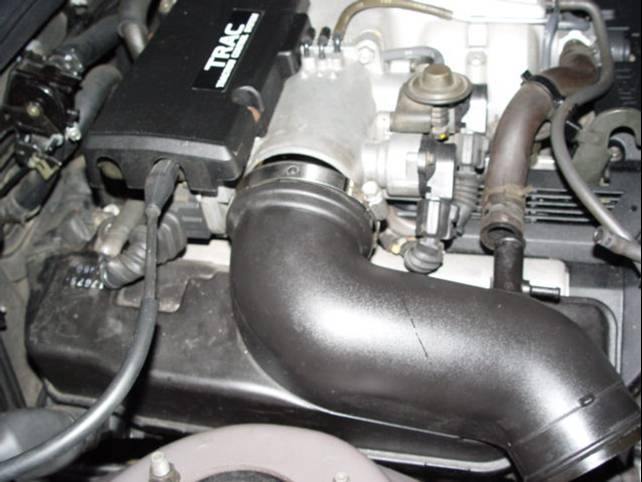
Here it’s being done on a 5.7L Toyota Tundra V8 engine.
Do you have any questions? If so, please head over to the forums to get a quick answer or share your experience!
Cash App (user: $lextremeparts).
This is a freelance site with no support by huge companies.
I have been doing most of the R&D and technical write-ups by
myself with my personal money and literally thousands of hours of my time. I have taken extra steps to
demonstrate in details how things are done. Currently I am
one of the few people doing Lexus V8 research and performance
enhancement. This effort comes from my personal love for
this wonderful engine. Most of the modifications are from
trial and error. There's no cookbook for 1UZFE
mods and its unknown territory for much of supercharger performance.
The parts, labor, web development and site hosting are
100% paid from my personal hobby money. If you feel my efforts help you
in any form, please do not hesitate to donate any amount of money
to support this site. You have no idea how much I and the entire Lexus and Toyota community appreciate it!