Tools:
Sockets needed: 17mm, 19mm, 26mm
Some type of press or 2 arm gear puller
Needle nose pliers
Metal hacksaw
Wire brush on a table grinder or sand paper
Knife and or blow torch
Vise
Step 1
Remove 17mm nut holding on ball joint. There is a pin you have to remove first then you can take off the nut.
Step 2
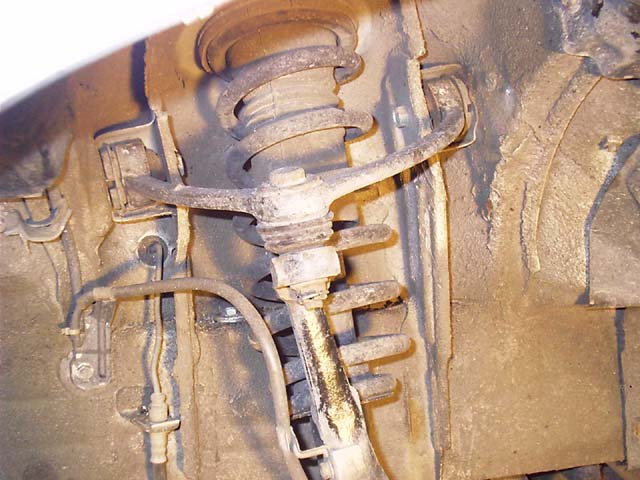
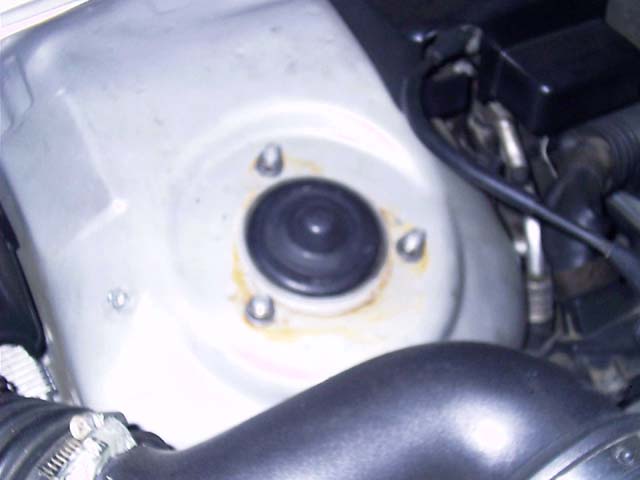
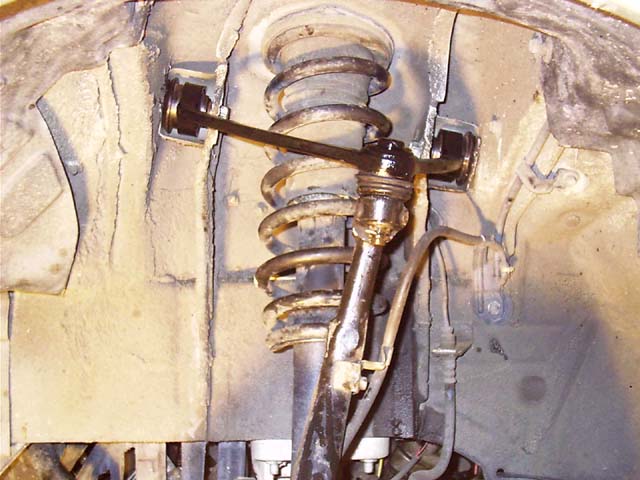
You have to take out the shocks to get to the control arm bolts. This is actually very simple. First remove the three nuts holding the shock to the car in the engine bay. Then remove the bolt at the bottom of the shock, it’s under 121 foot-pounds of torque, so this won’t be easy. Nuts in engine bay are 12mm, and bolt for strut rod is 19mm.
Removing the shock itself is quite easy after you have all 4 bolt/nuts removed, you just have you play with it so it can come out, don’t worry you’ll get it.
Step 3
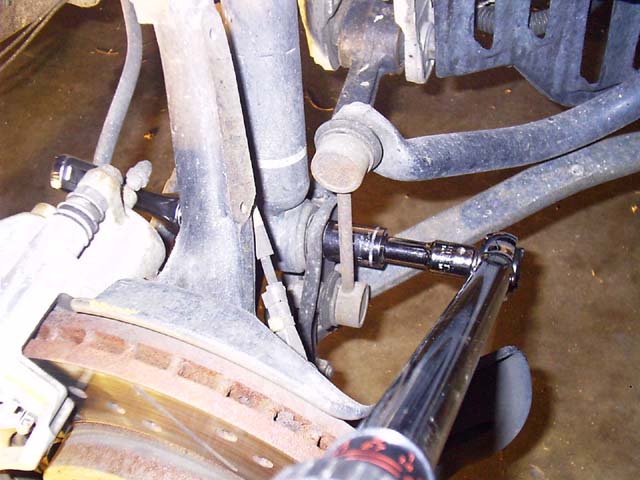
Remove both bolts holding on the rest of the control arm.
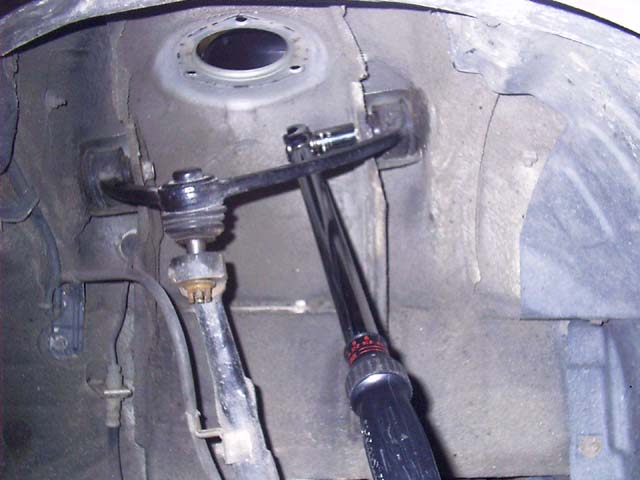
After you remove the two bolts use something to tie that rod to the shock so it doesn’t pull on that line going to your hub.
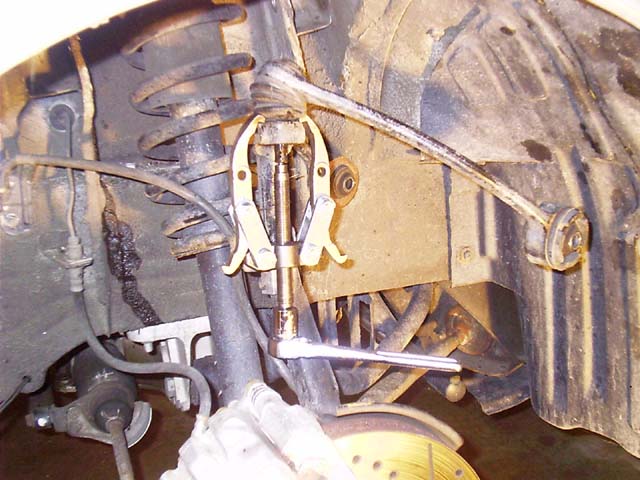
Step 4
You have to remove the bolt/ball join so you can take off the control arm completely. On the left side I hit it with a hammer and it came out with much difficulty. Or you could use the 2 jaw pulley and push it out, when I did it this way it made a HUGE pop and scared me half to death when I came out.
Step 5
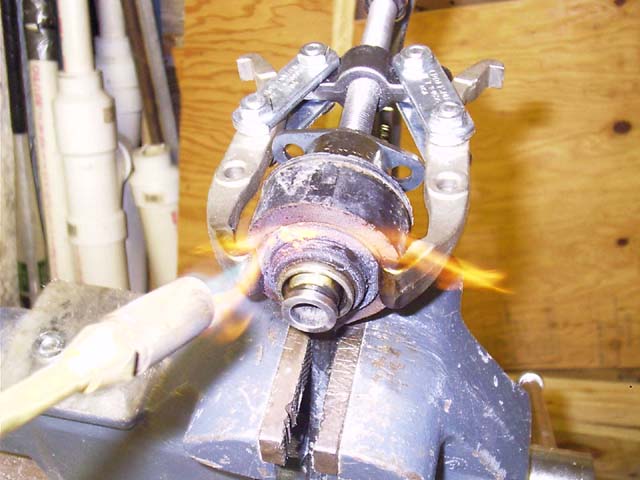
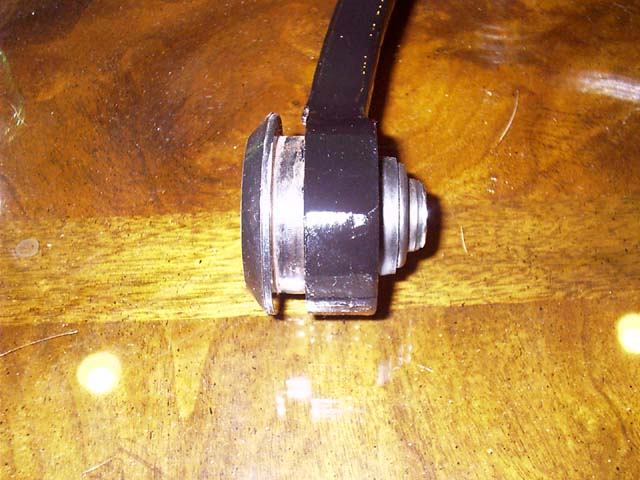
Take off the dust boots on each bearing, there are 2 on each. Put the control arm in a vise and take that 26 mm socket and stick it like I have in the picture
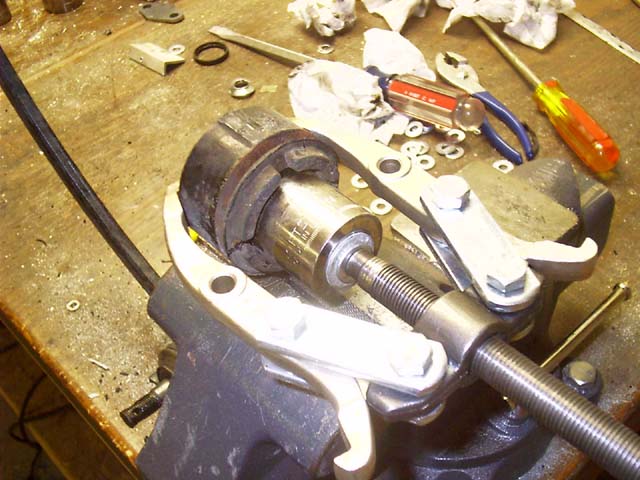
In the picture here I used washers, but be warned these are NOT strong enough and the pushing arm went through them and grinded them to complete and utter distortion. So when you do this get a thick piece of metal and use that.
Now just push out the bearing, it will be hard but very possible. If you need more leverage on your wrench use a bar and stick the handle of the wrench in it to make the handle a lot longer.
As you get to the end it seems impossible to press it out, so you’re going to have to start cutting the rubber that is exposed and if that doesn’t work take a torch and just torch it.
Step 6
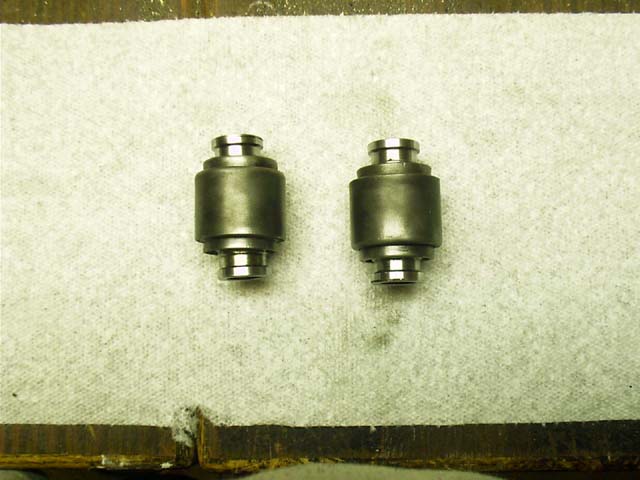
The bearing will have rubber on it obviously and you will have to take it ALL off
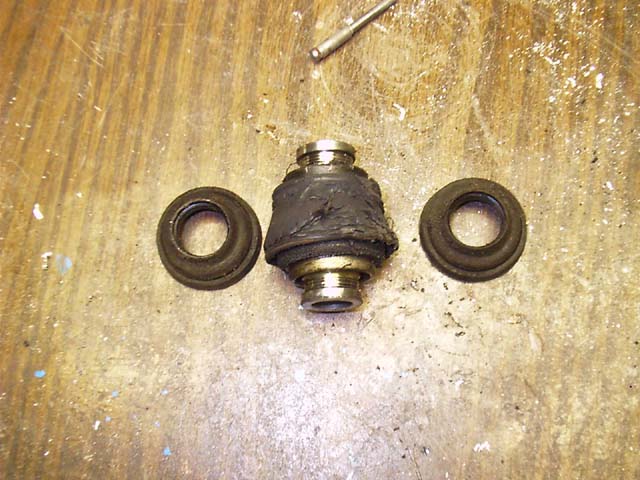
Make it look like these
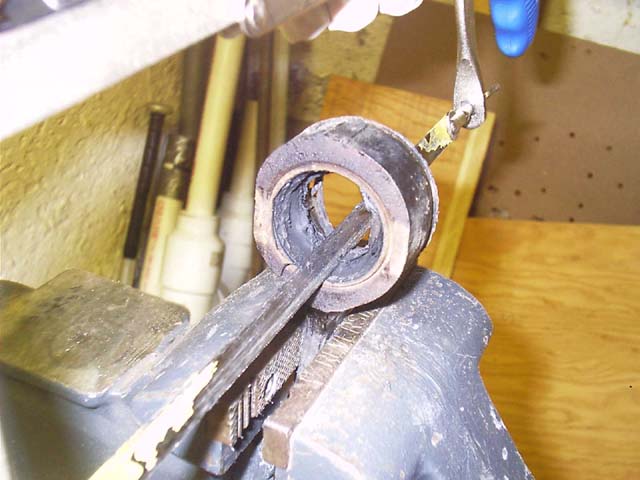
Step 7
You’re going to have to cut out the rest of the bushing still in the control arm (it is a metal ring). Take a sawzaw or a metal saw and do like so�
Cut the ring just enough so it can free the pressure and you can just tap out the bushing.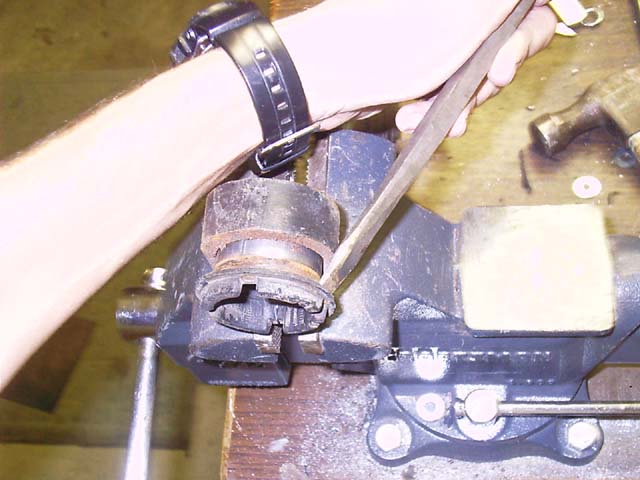
Step 8
Now you have to put in the new bushing. The KEY to this part is make sure you put it in just as far as the old one. Make sure the gap is the same for both.
Step 9
You have to now press in the old bearing into this bushing. The only thing you have to worry about is that the bushing doesn’t get pressed in while you press in the bearing.
After you get the bearing in about 紨 then you don’t have to worry about the bushing getting pressed in any more because the pressure the bushing now has against the inner walls is just far too great to overcome.
A good way to keep the gap when you’re first pressing in the bearing is to put washers in the gap. If you do this make sure you have them in at least 3 parts around the bushing so the pressure is even. I put some grease on the bearing to make pressing it into the bushing a bit easier.
After you get all this done you have to put back on the dust boots. However only one boot will fit, you have to cut the other one’s outmost ring off so it will fit inside the bushing.
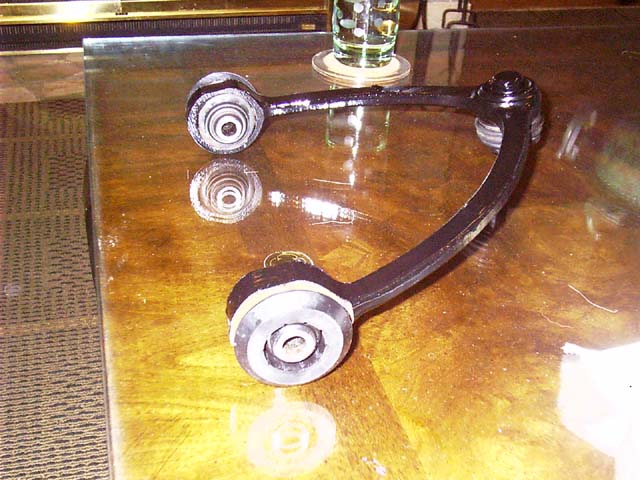
I took this opportunity to repaint the control arm that’s why mine looks so shiny.
Just another view
Step 10
Now its time to test it all and make sure it fits, if it doesn’t make note of which bearing and/or bushing has to go in/out and the distances, don’t worry this doesn’t take long. You have to torque the bolts when putting them all in.
The two control arm bolts take 121 ft-lbs, the ball joint nut takes 80 ft-lbs, and the bolt for the shock takes 136. The upper part of the shock doesn’t really matter; just make it very snug on there and your set.
DONE!
For reference, I’ve included a couple of Youtube videos that might have some supplementary information.