remains. If you own a 1UZ from 1990-1997, you
for help with ordering or questions. This will probably be the last kits I have made.
All other parts are SOLD OUT and won't return, including the LS400 and SC400 turbo kit, rebuild kits, supercharger and performace torque converter. We're not an auto parts supplier and I can't respond to inquries for random Lexus and Toyota auto parts.
In this article, I will show you step by step how to remove the front bumper beam. Why do we need to remove the front bumper beam? Well, one of the reasons I remove the front bumper beam (FBB) is to increase space/room for intercooler.
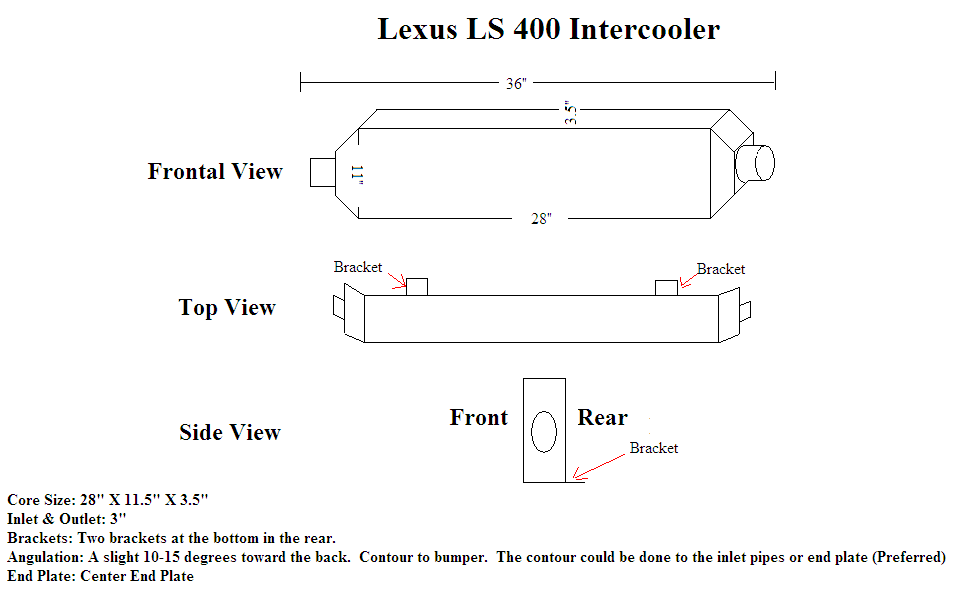
As for the Lexus LS400, I have done two different intercooler sizes and cost me lots of money. Each intercooler is about 400-500 dollars. Secondly, due to the limited space given in the LS400, large intercooler is almost impossible. I have tried 3.5″ x 6″ x 36″ and 3.5″ x 8″ x 36″, the initial IC was very restrictive and the second IC was too tall.
Either way, it was not a good fit for forced induction applications. In order to get a larger intercooler, I would need to cut the FBB or remove the FBB. The FBB is about 3.5″ x 3.5″ in a square configuration. Initially, I wanted to cut back part of the FBB to retain some reinforcement for safety reasons. However, if you look at the FBB carefully, this beam has two double aluminum reinforcement. Therefore, cutting it would be extremely difficult, but not impossible. With more work on cutting, I decided to remove it completely.
This procedure is NOT recommended for an average person, but again being average is not fun. By removing the FBB you are risking some degree of safety issue. However, if a strong (40-60 mph) front impact would cause some radiator/engine damage. I am willing to take that chance. The whole process took about an hour and a half with basic tools. I would recommend having a friend to assist you. So, here we go!
|
|
 |
|
|
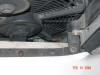
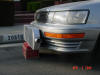
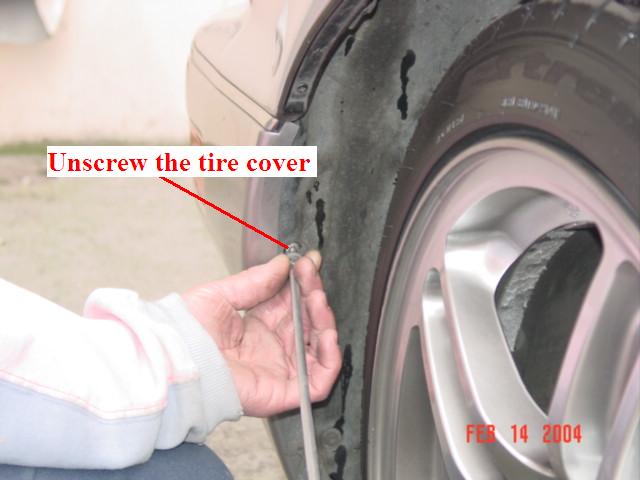
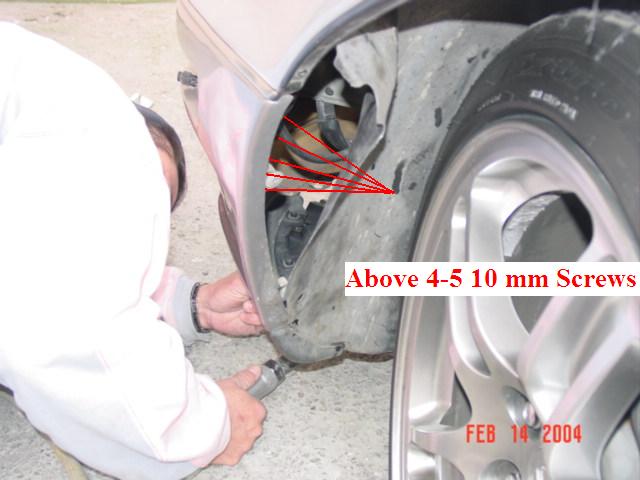
| Remove the side panel near the front tires with a screwdriver. |
|
|
|
|
|
 |
|
|
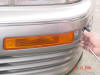
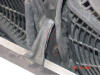
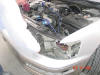
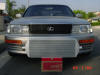
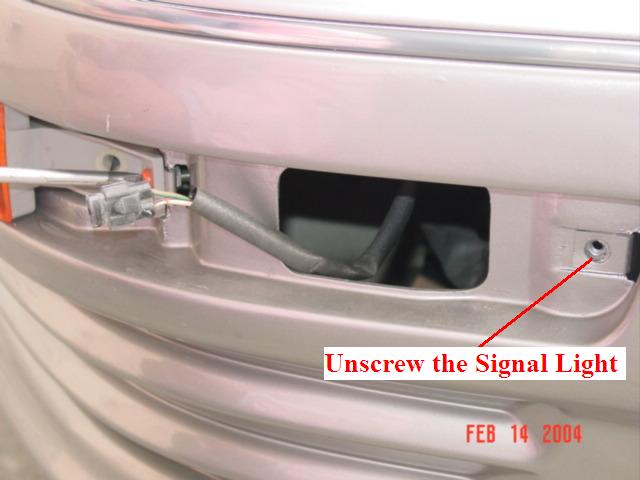
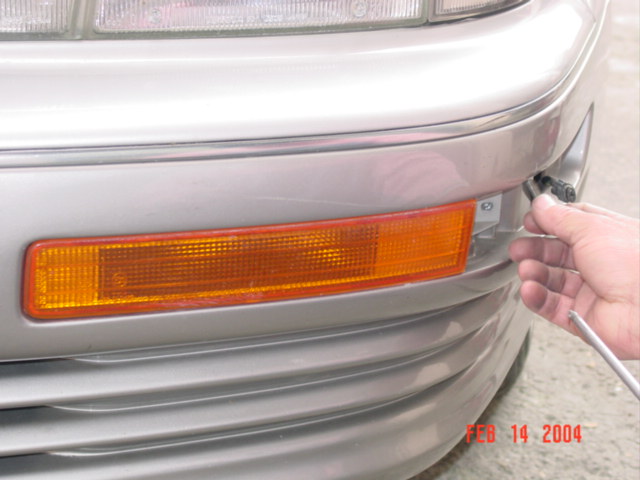
| Remove the singal and the driving lights |
|
|
|
|
|
 |
|
|
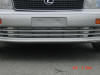
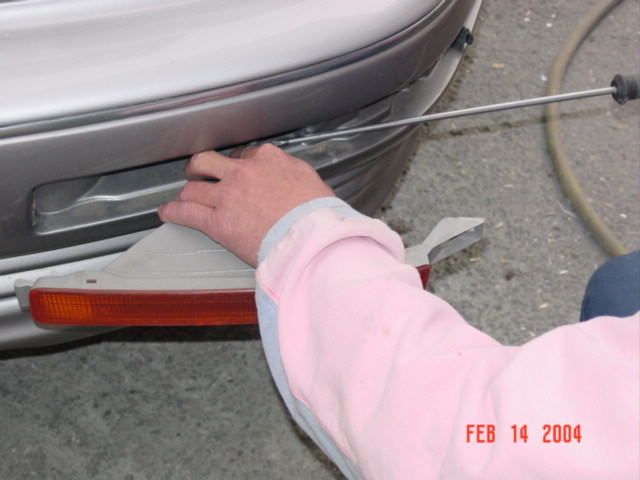
| Another picture of the driving night light. |
|
|
|
|
|
 |
|
|
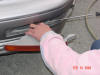
| Just use a screwdriver to take out both of the lights. |
|
|
|
|
|
 |
|
|
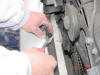
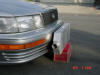
| There are about 4-5 10 mm nuts at the end of the bumper. |
|
|
|
|
|
 |
|
|
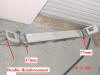
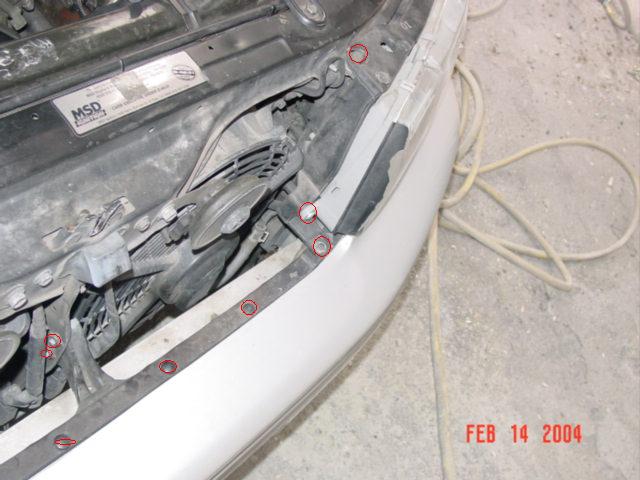
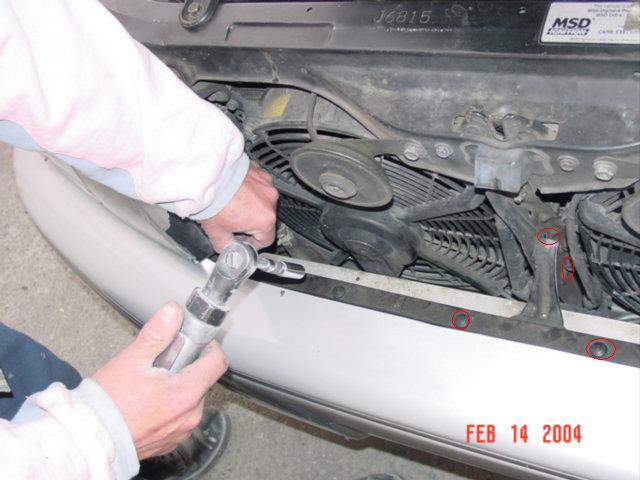
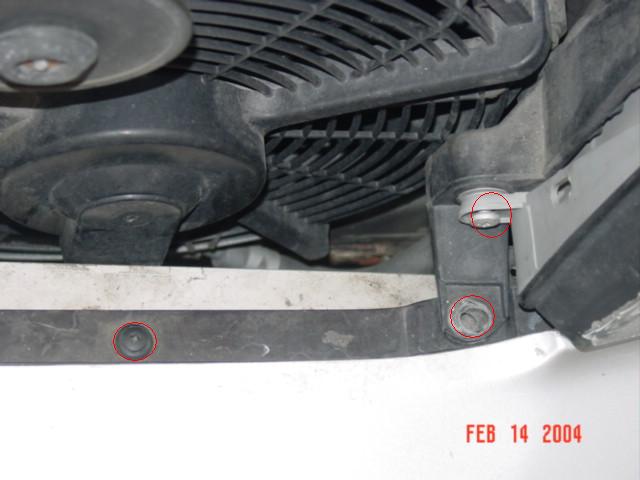
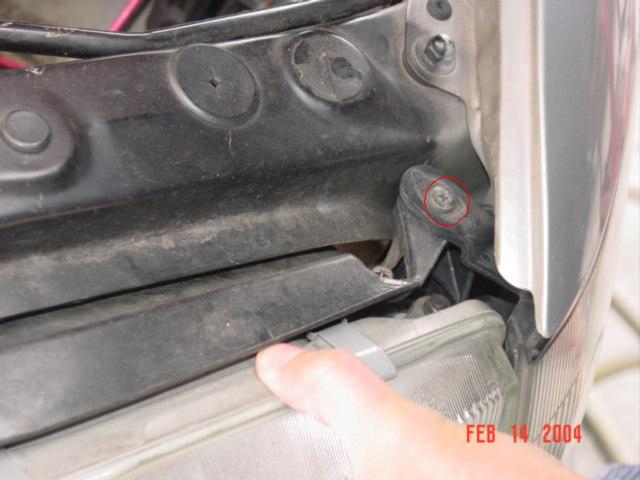
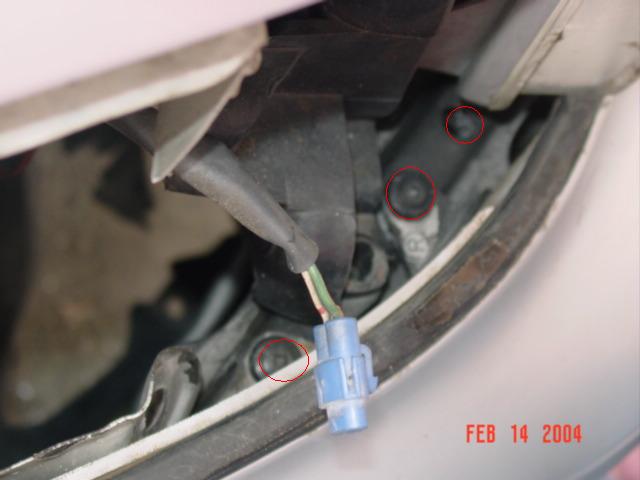
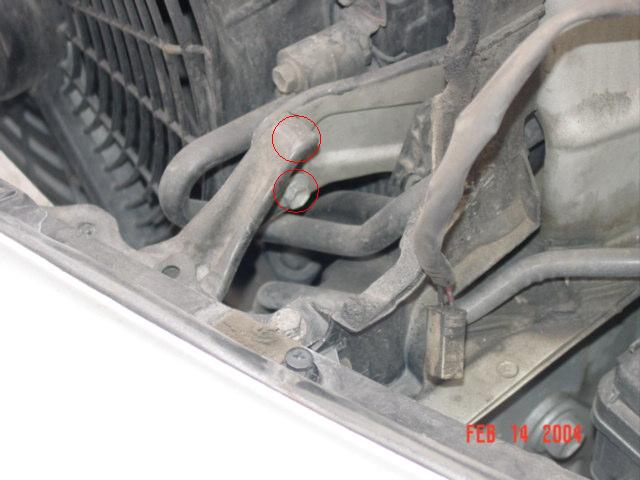
| Red circles are the bolts/nuts/plastic clips need to be removed. |
|
|
|
|
|
|
|
 |
|
|
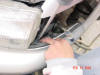
| Remove the driving head lights |
|
|
|
|
|
 |
|
|
| Removing the driving side lights |
|
|
|
|
|
 |
|
|
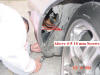
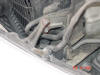
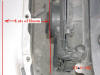
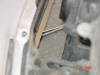
| 2 10mm that holds the FBB need to be removed. |
|
|
|
|
|
 |
|
|
| Lights are removed and needs to loosen more bolts/nuts/plastic clips. |
|
|
|
|
|
|
 |
|
|
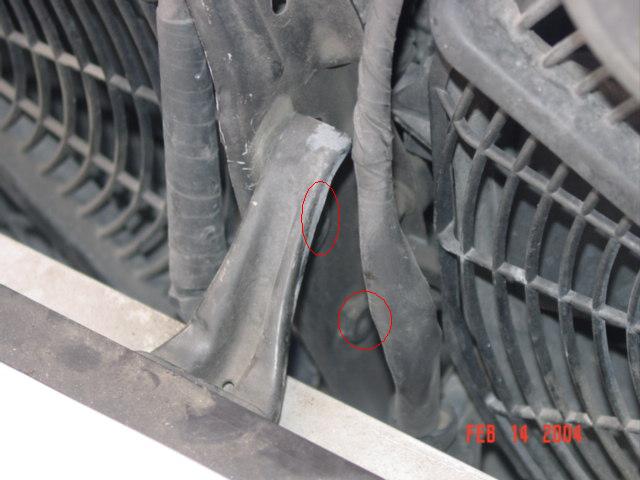
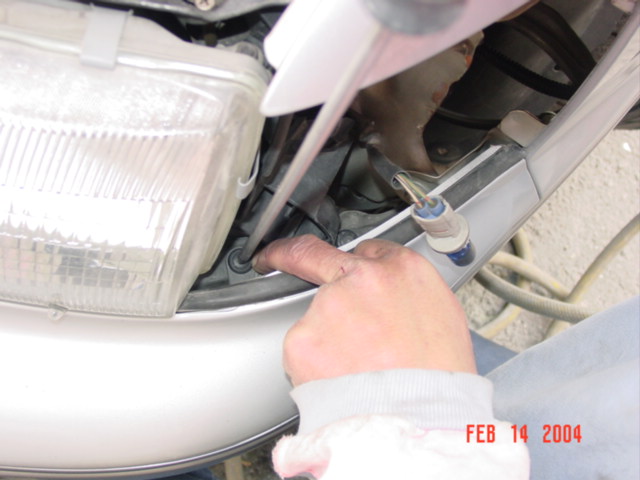
| Taking out the plastic clips, they are located upper lower and FBB. |
|
|
|
|
|
 |
|
|
| Removing more bots/nuts/plastic clips. |
|
|
|
|
|
 |
|
|
| The front bumper is about to come out… |
|
|
|
|
|
 |
|
|
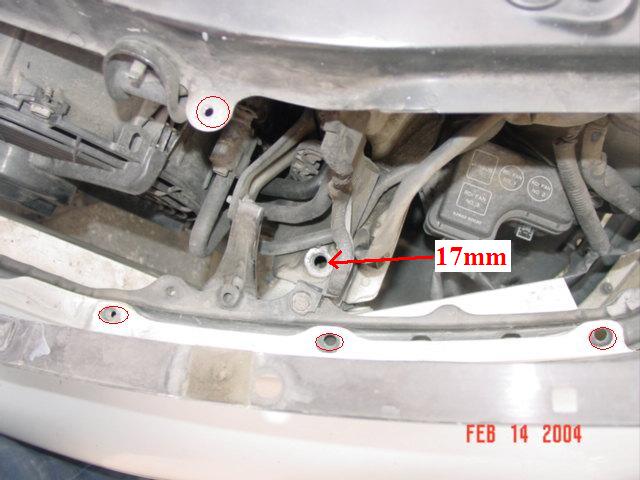
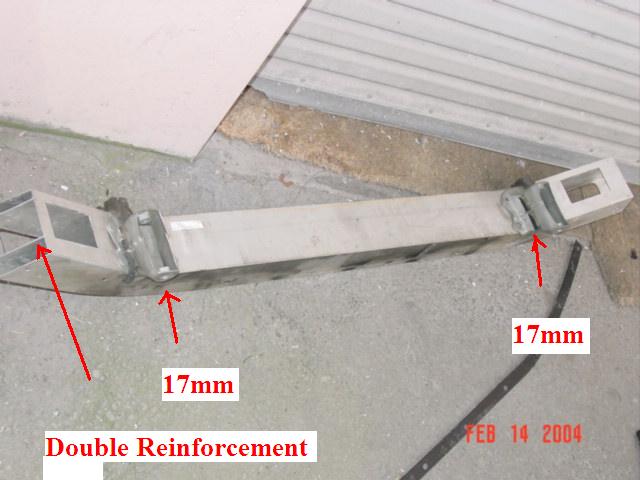
| Total of 6 10 mm and 4 17 mm nuts holding the FBB. |
|
|
|
|
|
|
 |
|
|
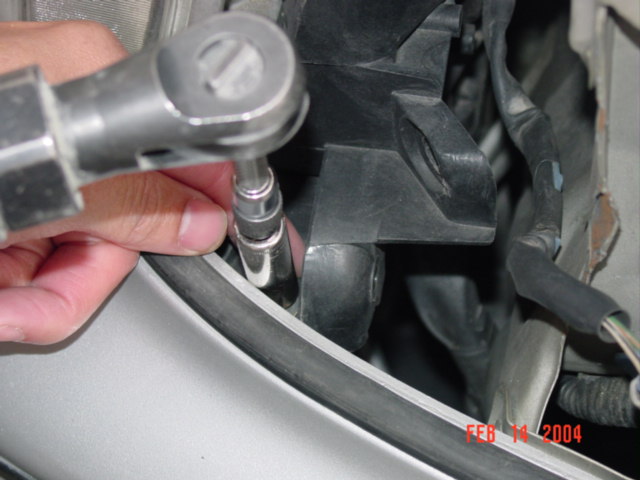
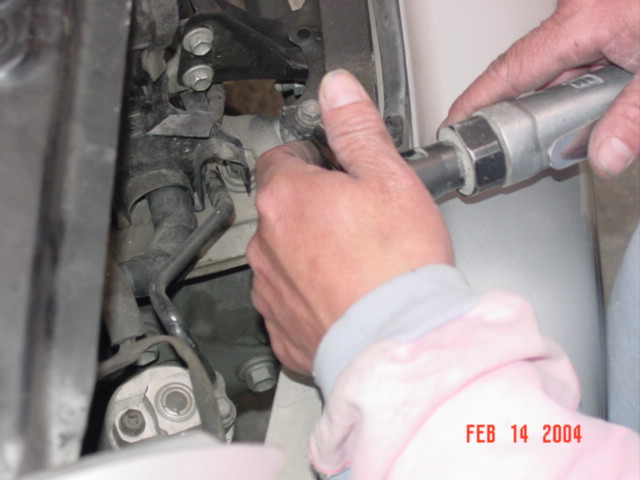
| This is one of 4 17 mm bolts holding the FBB. 2 under and 2 above. |
|
|
|
|
|
 |
|
|
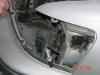
| Its out… Finally! No a good picture. |
|
|
|
|
|
 |
|
|
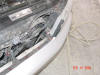
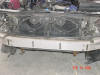
| A closer look at the FBB. |
|
|
|
|
|
 |
|
|
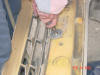
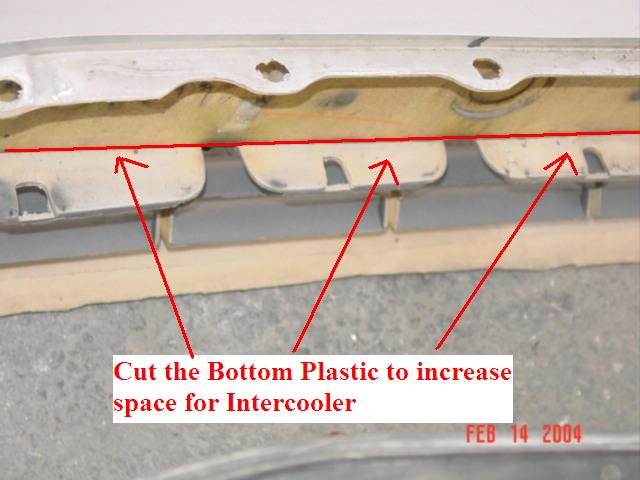
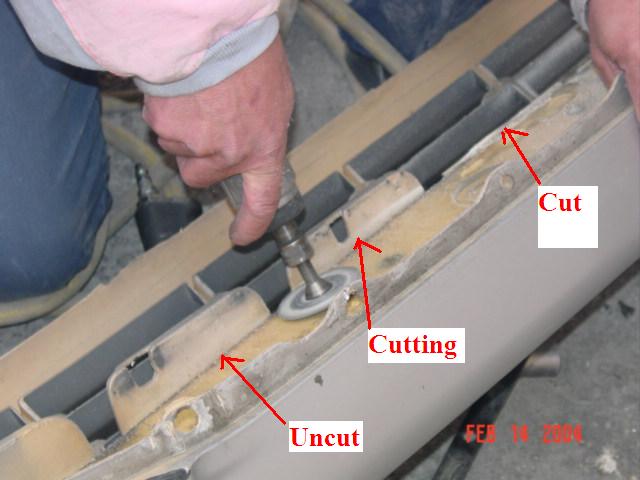
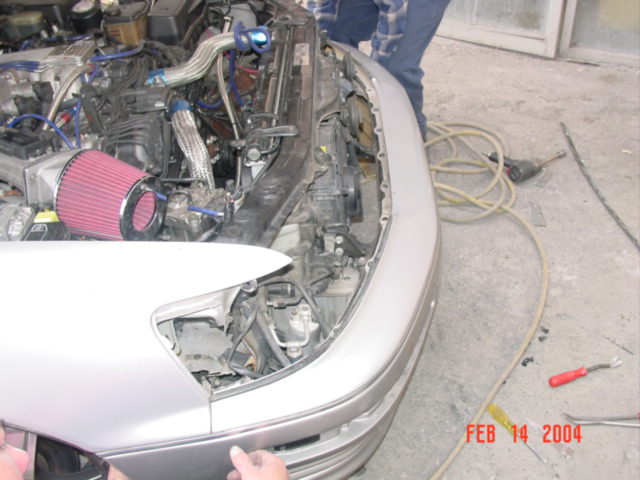
| After the bumper comes off. I cut the lower mounting bumper cover to create space for IC. |
|
|
|
|
|
 |
|
|
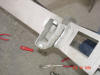
| Using an air tool to cool the plastic. |
|
|
|
|
|
|
 |
|
|
| Time to reassemble. Reverse the process. |
|
|
|
|
|
 |
|
|
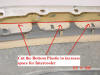
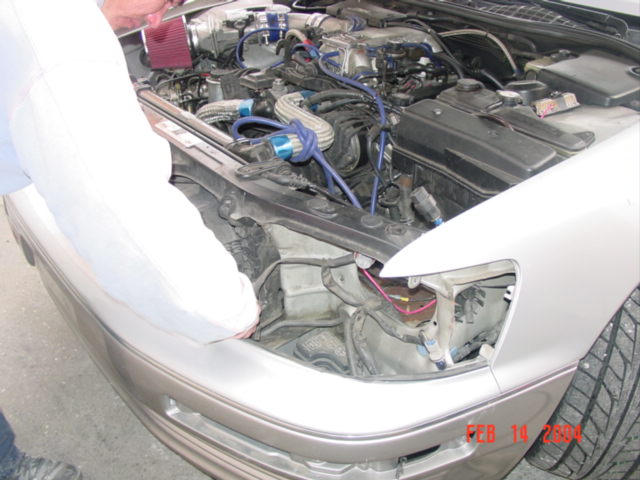
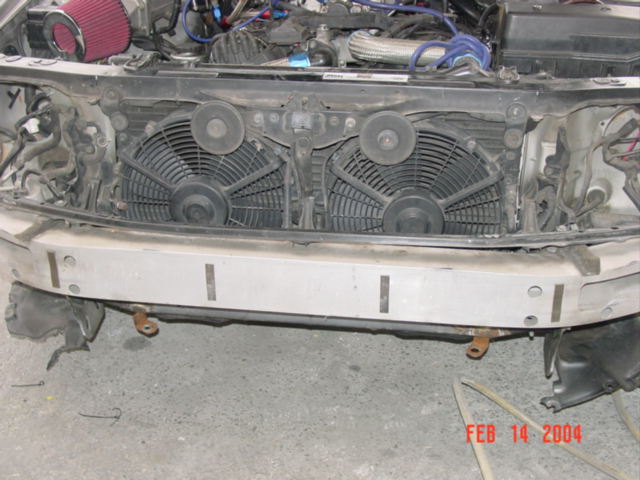
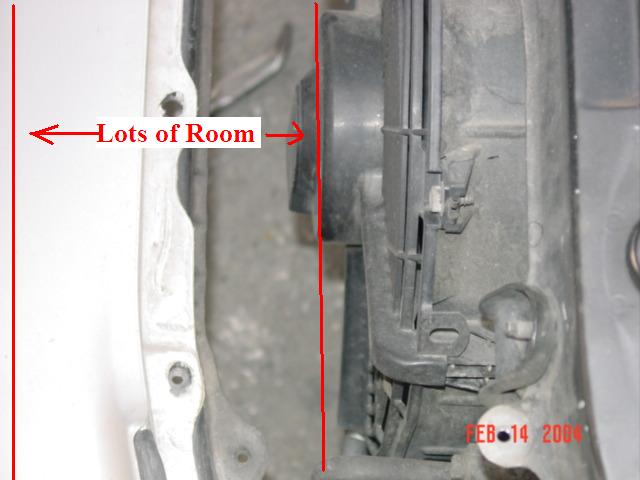
| Look at the space gain. Now the space is about 4.5″ x 11″ x 36″ |
|
|
|
|
|
 |
|
|
| Another picture of the result with FBB removed. |
|
|
|
|
|
 |
|
|
| Another look at the Lexus FBB |
|
|
|
|
|
 |
|
|
| Almost done…. actually.. its done… |
|
|
|
|
|
|
|
After the FBB removed I have gain lots of space for a good size intercooler to support about 500-650 rwhp. The question you would ask, would removing the FBB affect the front bumper cover since the stabilized points are removed. The answer is NO. Its not as strong as before, but it would not be a major factor at all. If you still need further instruction on the removal of Lexus LS400 Front bumper.
Once again, its possible to install an intercooler without removing the FBB, but it would have to be small and it will be restrictive. If you want to higher hp and better cooling, a larger IC is needed.
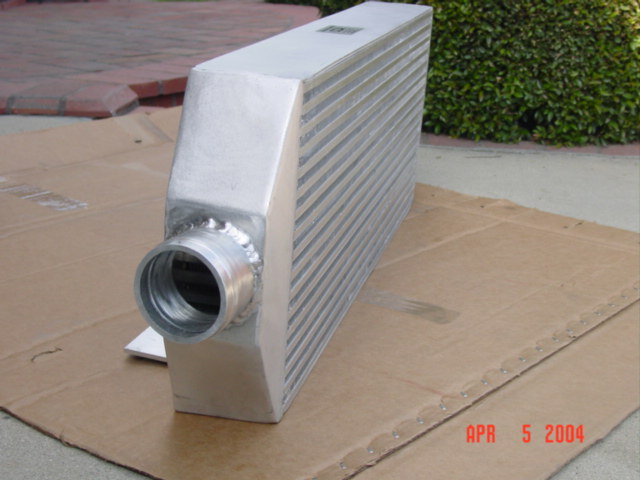
Here is the intercooling drawing that has been carefully designed from my previous mistakes. This is the best possible intercooler for the Lexus LS400. Bar and Plate style intercooler is not the best looking intercooler for show. However, this is the most efficient designed at the given space.
You will also noticed the picture below the in and outlet is angulated about 20 degrees to fit into the bumper cover contour. I prefer this design much better the traditional import style straight intercooler. I have experienced restriction from my previous intercoolers and this will be the best intercooler design for the Lexus LS400.
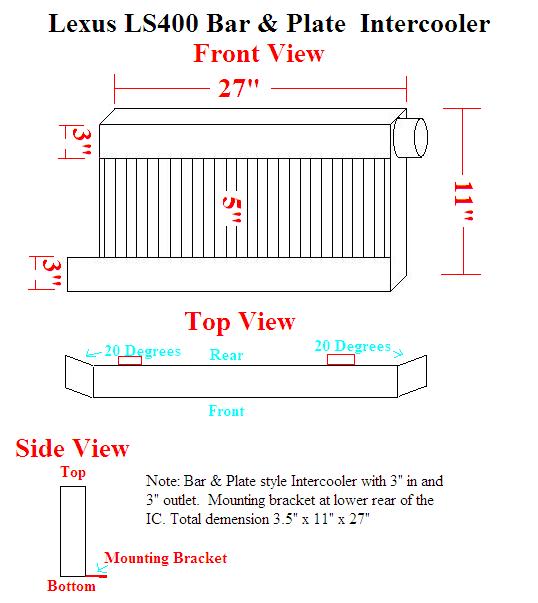
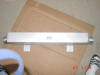
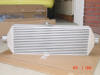
Total external dimension is 3.5″ x 11″ 27″, core dimension is 3.5″ x 5″ x 27″. According to ATI intercoolers and dimensions, this intercooler should be able to support about 900-1000 bhp. This style of IC is very efficient and able to handle huge hp with small core. This style of IC is for GO not for SHOW. Instead of custom made, ATI Procharger already read my mind. Check this out http://www.procharger.com/intercoolers.shtml
 |
Approx. Max HP |
Approx. Dimensions* |
| 2-Core |
500 |
3″ x 11″ x 18″
|
| 3-Core |
750 |
3″ x 11″ x 27″ |
| Sheet Metal 3-Core |
1000 |
3″ x 13″ x 27″ |
| 6-Core |
1,500 |
6″ x 13″ x 27″ |
However, if you are into looks. Then this configuration will work for you. Its not as efficient as the IC above, but people like the side by side style for the intimidating look:
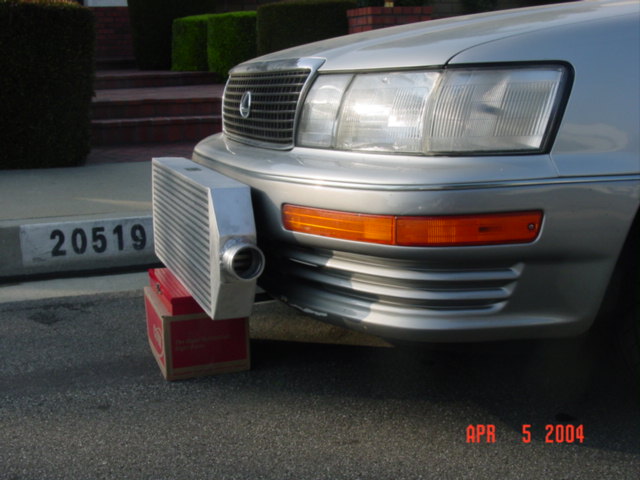
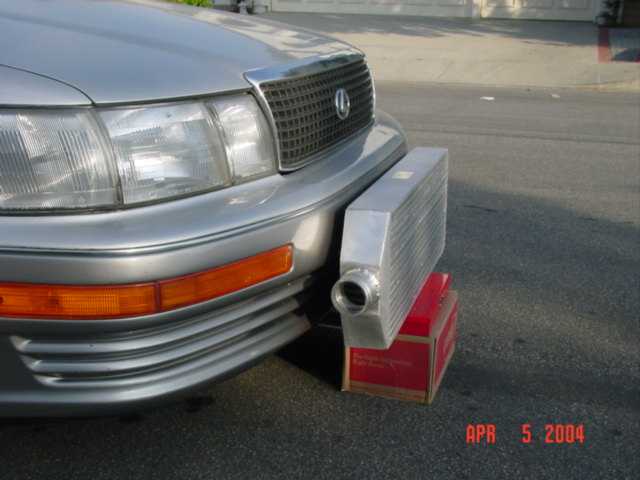
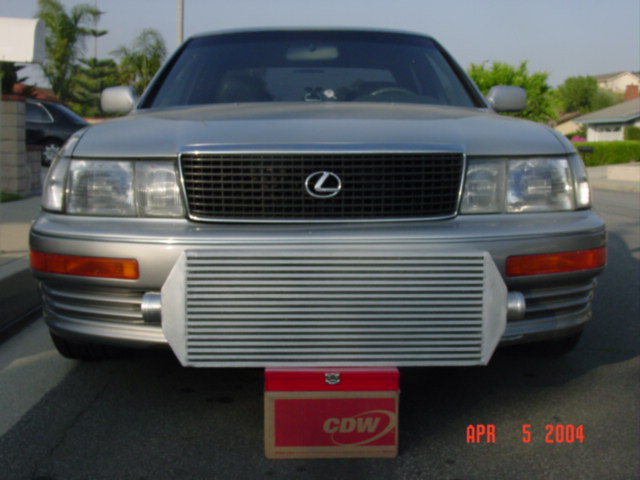
Here are some updated pictures of the custom intercooler from above drawing to real life production:
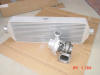
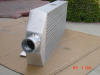
The pictures above from an intercooler to mock installation and full installation. The cooler looks small after it was installed. About half of the intercooler is hidden behind the bumper. Its a sleeper look.
Comments:
Overall this was a good experience and I really like the space I have gained. However, the SC300/400 folks do not have to do that. They have lots of room for
A huge intercooler. Not so lucky for us LS owners. I hope you enjoy this article and if you feel I have done some good for the community of Lexus V8 owners, please feel free to donate some money to this dying site.


